In this guide, I’ll show you the fastest way to integrate your custom GPTs into any website. This method leverages the powerful capabilities of OpenAI’s Assistant API, allowing you to create and operate custom GPTs programmatically.
By the end of this tutorial, you’ll be ready to deploy a chatbot on your website.
Step 1: Understanding GPTs and the Assistant API
Before we start building, it’s crucial to understand the difference between GPTs created on the ChatGPT site and those built with OpenAI’s Assistant API.

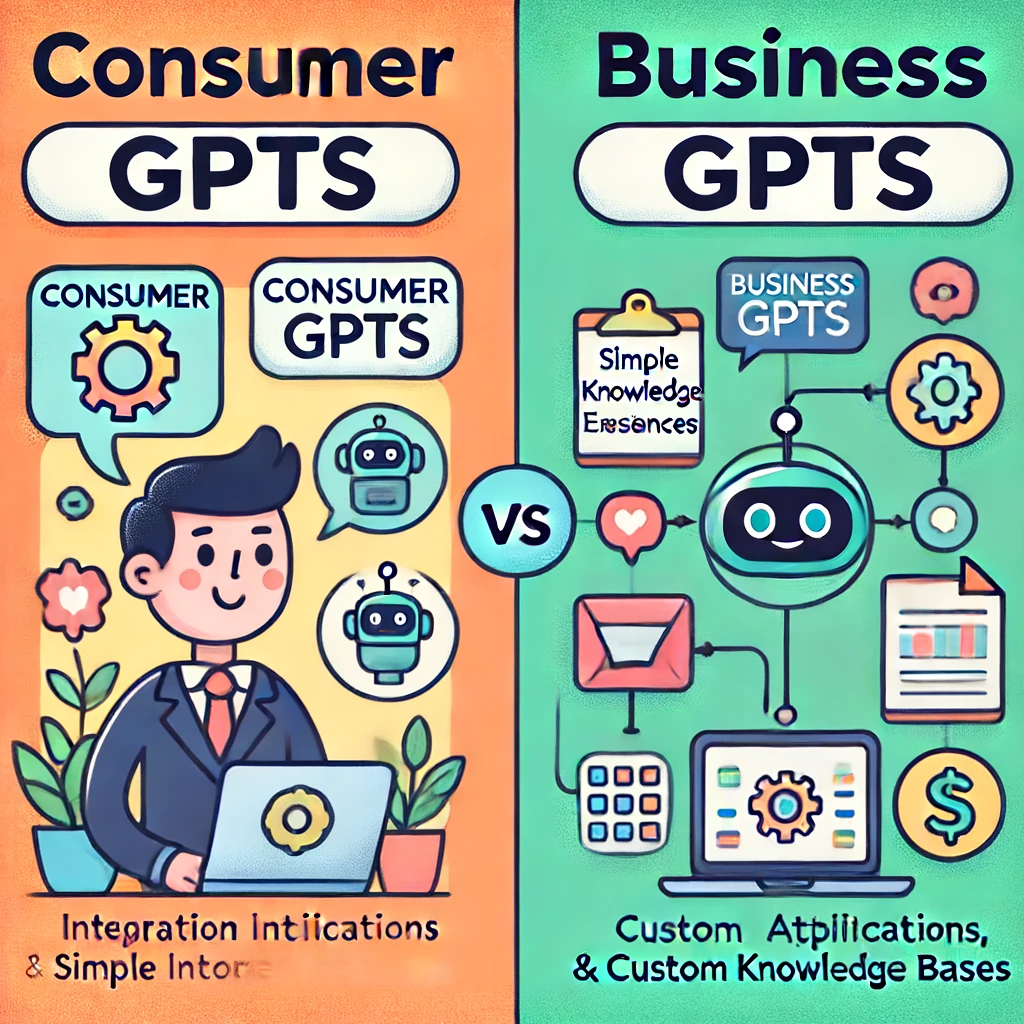
Consumer GPTs vs. Business GPTs
- Consumer GPTs: Created on the ChatGPT site, these are great for small, interactive experiences but lack the capability to be called programmatically.
- Business GPTs: Built with the Assistant API, these can be integrated into various applications programmatically, offering much more power and flexibility.
Why Use the Assistant API?
The Assistant API is designed for robust applications, making it ideal for business use cases such as customer service, sales support, and more. It allows you to:
- Automate Interactions: Seamlessly handle user queries with automated responses.
- Customize Knowledge Bases: Tailor the chatbot’s knowledge to fit specific needs.
- Integrate with Existing Systems: Connect to other software and databases for a cohesive user experience.
Step 2: Setting Up Your Development Environment
Tools You’ll Need
Cloning the Replit Template
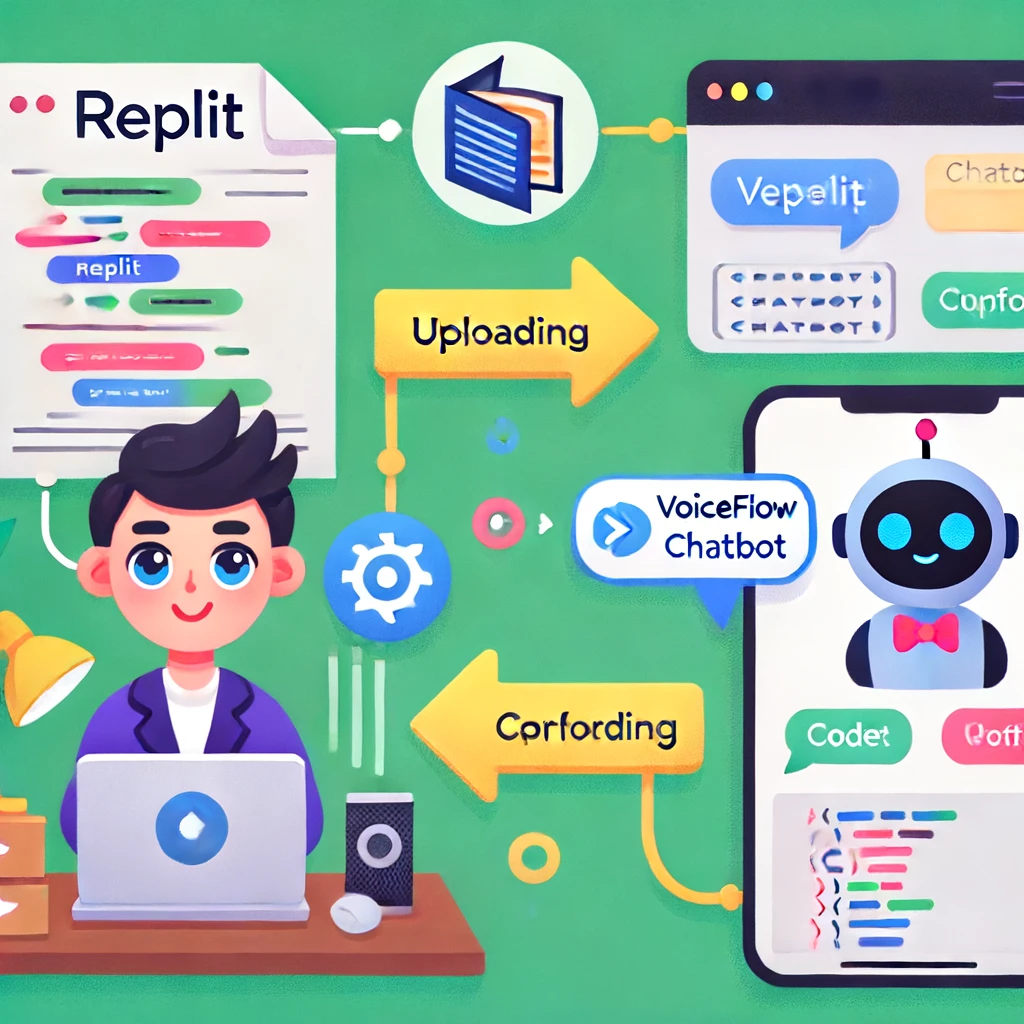
- Access the Template: Sign up to my resource hub (link in the description) and fork the provided Replit template.
- Clone the Replit Project: Click the fork button on the top right of the Replit page to create a copy of the project.
- Upload Your Knowledge Document: Add your custom training documentation or knowledge base to the project.

Step 3: Creating Your Assistant with the Assistant API
Configuration
- Open the main.py file: This is where our API endpoints are defined.
- Set Up the Assistant: In the create_assistant function, configure your assistant’s details, such as its purpose and knowledge base.
- Example:
def create_assistant():
instructions = {
“role”: “sales rep assistant”,
“instructions”: “Provide information about product discounts, finance options, and general inquiries.”,
“knowledge_base”: “path/to/your/knowledge_document.pdf”
}
assistant_id = create_and_save_assistant(instructions)
return assistant_id
API Key Setup
- Add OpenAI API Key: Navigate to the secrets section in Replit and input your OpenAI API key.
Running the Assistant
- Start the Server: Click the run button in Replit. This will create your assistant and store its ID in assistant.json.
Step 4: Connecting Voiceflow to Your Assistant
Importing the Template
- Download the Voiceflow Template: Available in the resource hub, download the provided template.
- Import into Voiceflow: Log in to Voiceflow, go to the import section, and upload the template.
Configuring API Calls
- Set API Endpoints: Replace the placeholder URLs in the Voiceflow project with your Replit server URLs (e.g., /start and /chat endpoints).
- Test the Connection: Use the test feature in Voiceflow to ensure your assistant is responding correctly.
👉 Read more: Best AI Chatbots
Example Endpoint Setup:
- Start Endpoint: https://your-replit-url/start
- Chat Endpoint: https://your-replit-url/chat
Step 5: Embedding the Chatbot on Your Website
Publishing Your Voiceflow Project
- Publish the Chatbot: Click the publish button in Voiceflow and customize the appearance and settings of your chatbot.
- Get the Embed Code: Copy the provided JavaScript code for embedding the chatbot.
Adding the Chatbot to Your Website
- Edit Your Website’s Code: Paste the embed code into your website’s HTML, typically at the bottom of your main file within the script section.
<script src=”https://cdn.voiceflow.com/embed.js”></script>
<script>
Voiceflow.init({
endpoint: ‘your-endpoint-url’,
key: ‘your-voiceflow-key’
});
</script>
2. Preview and Test: Open your website and test the chatbot to ensure it’s working correctly.
Step 6: Debugging and Optimizing
Monitoring API Calls
- Use Replit’s Console: Check the logs in Replit to see the API requests and responses in real time. This helps in troubleshooting any issues.
- Adjust and Refine: Make any necessary tweaks to the API endpoints or the assistant’s configuration to optimize performance.
Common Issues and Fixes
- Slow Responses: Optimize your knowledge base and ensure your server has adequate resources.
- Incorrect Responses: Review the knowledge base and instructions provided to the assistant.
Conclusion
You’ve successfully integrated a custom GPT into your website using OpenAI’s Assistant API and Voiceflow. This powerful combination allows you to create dynamic, interactive chatbots that can enhance user engagement and provide valuable services.
Additional Tips
- Regular Updates: Keep your knowledge base updated to ensure the chatbot provides accurate information.
- User Feedback: Collect feedback from users to continuously improve the chatbot’s performance.
Discover More AI Tools
Every week, we introduce new AI tools and discuss news about artificial intelligence.
To discover new AI tools and stay up to date with newest tools available, click the button.
To subscribe to the newsletter and receive updates on AI, as well as a full list of 300+ AI tools, click here.


